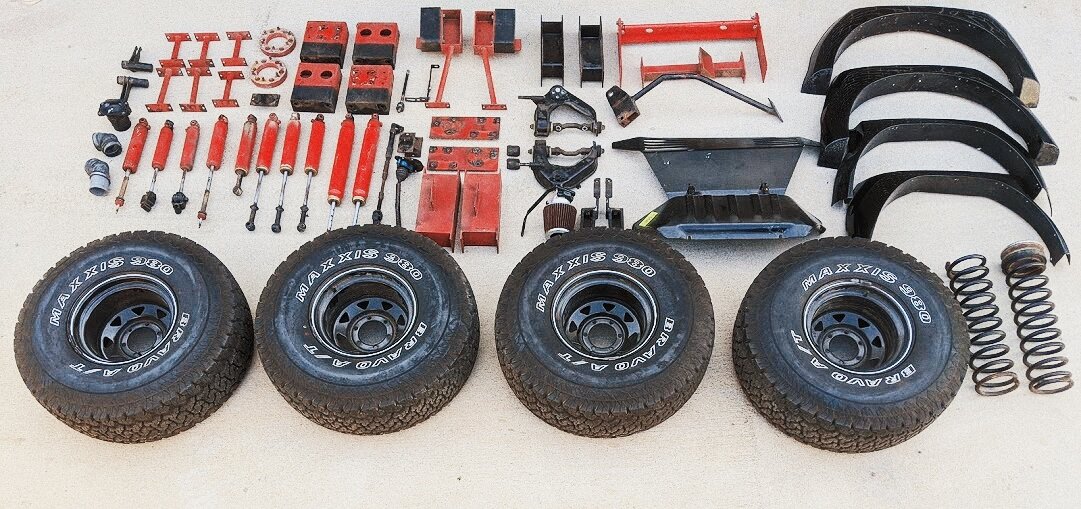
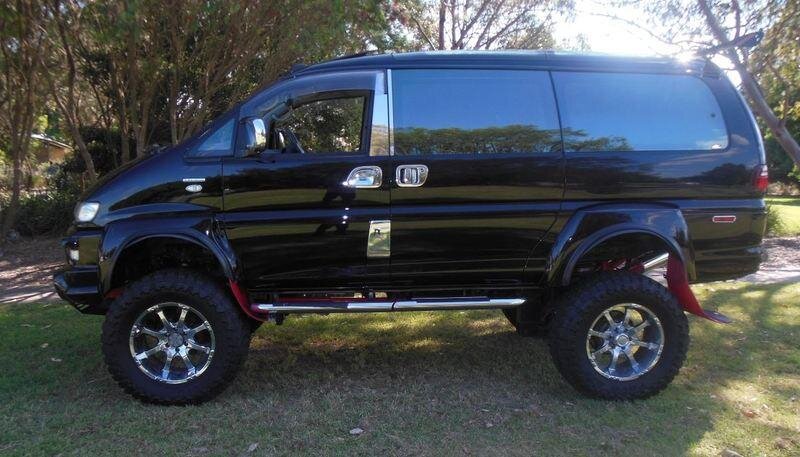
Few of the mechanical upgrades along the way.
- 140L long Range fuel tank from LRA
- DelicaGarage rear wheel carrier with tow bar
- 130A alternator
- Tome Skid plate
- Cruise Control
- Dobinsons 50mm llift with correction kit
- Terzo ladder
- Upgraded radiator
- Replaced Air-con compressor
- Rhino roof rack
- Snorkel
- New “Smaller” wheel arches
We kept the side step motor mechanism, if you decided to loose that you could probably get a 160L+ fuel tank to fit. This was the first LWB tank that LRA did extending their SWB version. Very happy with the extra capacity and their craftmentship. Likewise very happy with the rear wheel carrier delica garage fabricated. I hunted down the powder coat finish found on the Rhino rack and had the wheel carrier sprayed in it, very happy with the outcome.
Swivel Chair Rails
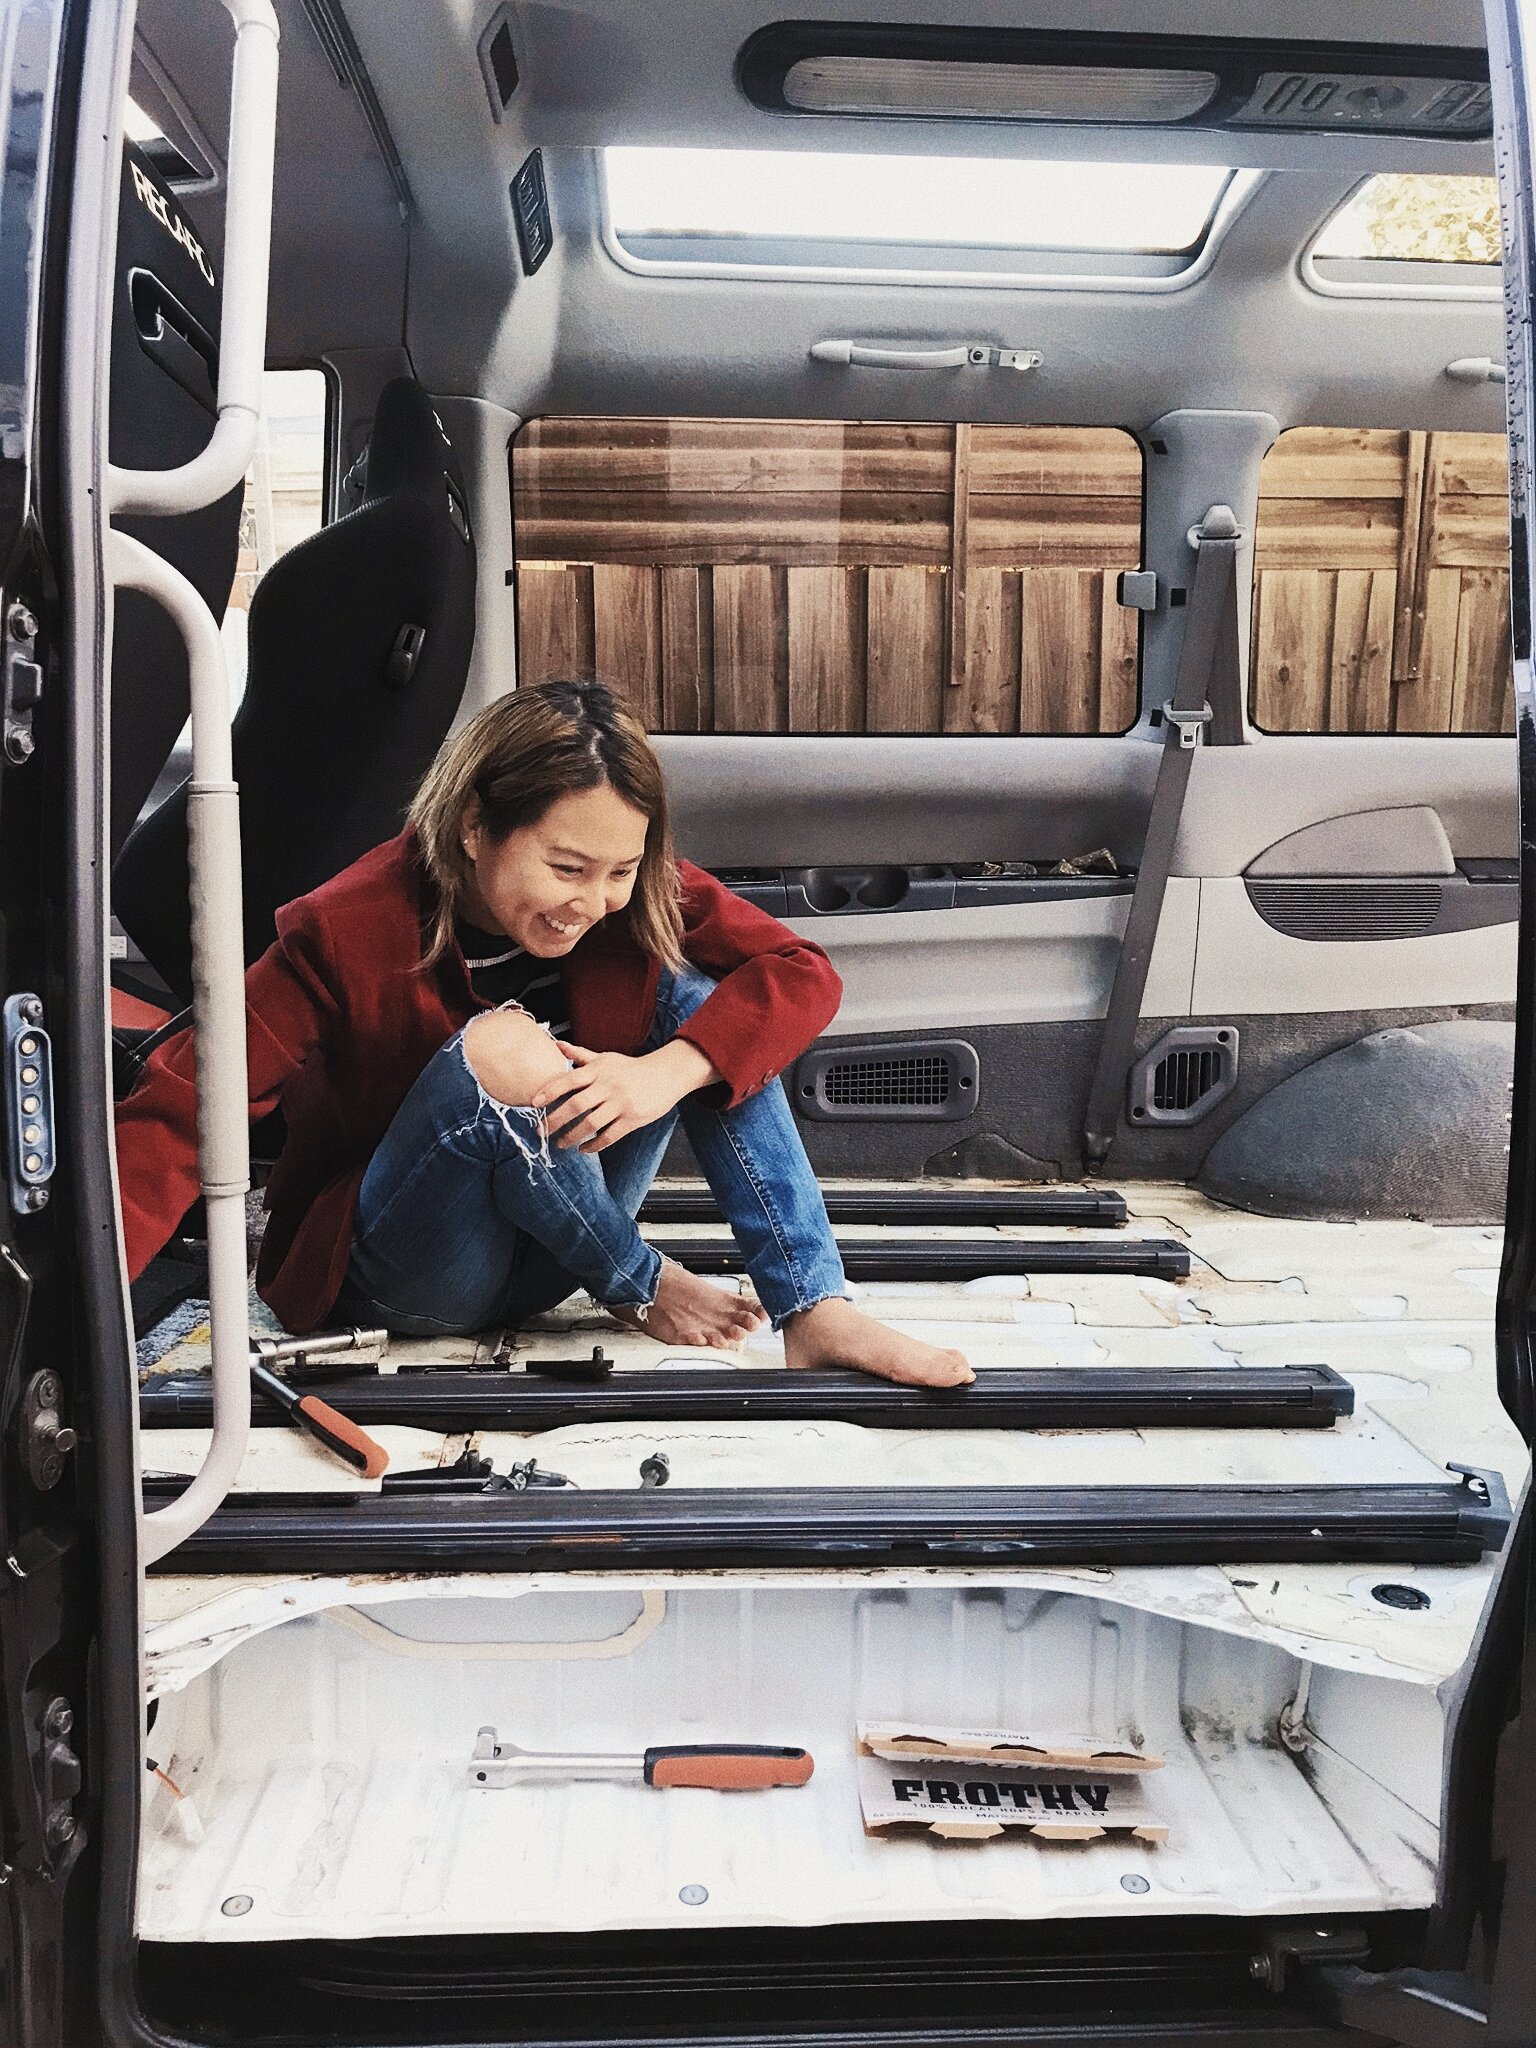
We had the rear passenger rails shortened and mounted at the front to allow the captains swivel chair. Bit more sound deadening and mass loaded vinyl cutting along with it. We used one large sheet of MLV to keep it as airtight as possible.
Floor Insulation
After filling the floor gaps, taping down Dc2Dc wiring that ran from the front battery to the leisure battery, we cut the floor insulation. This is another Carbuilders product consisting of 3mm Mass loaded vinyl coupled with 8mm closed cell foam. This should keep us warm, stop the drive train noise, and provide a bit of a moisture barrier between us and the sheet metal floor. Plywood flooring should sit nicely on top and hopefully remain squeak proof.
Wall Insulation
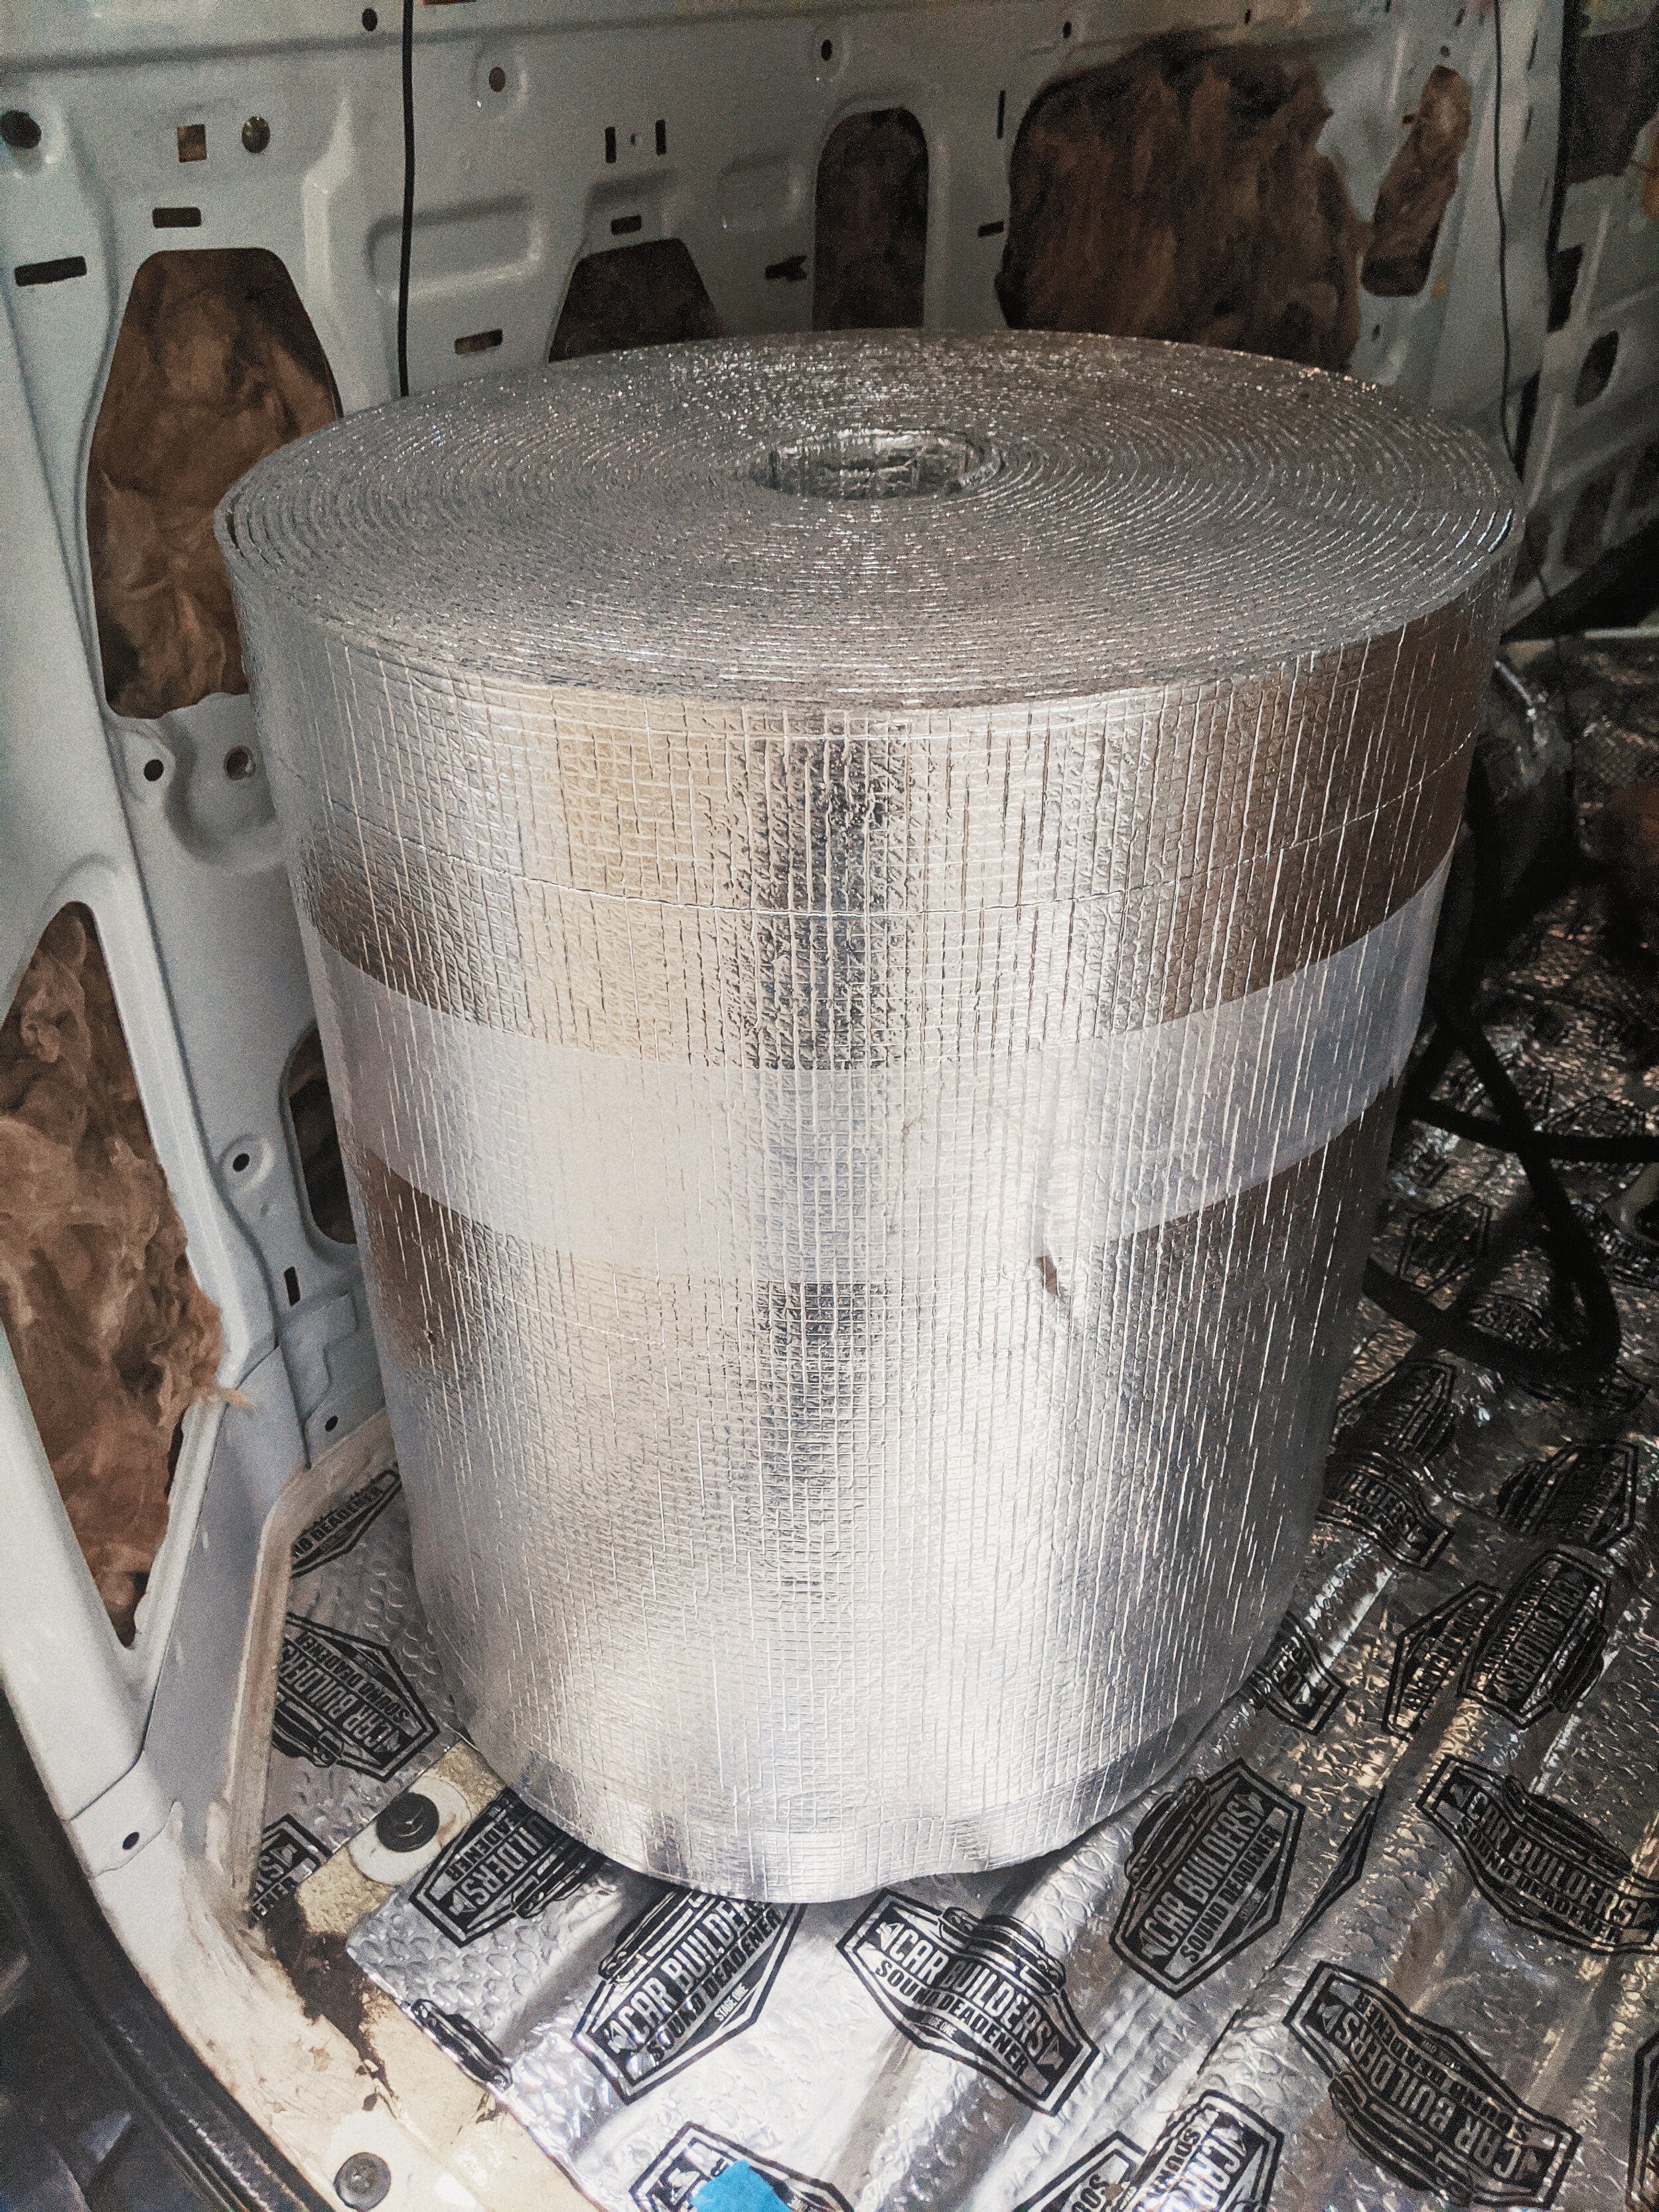
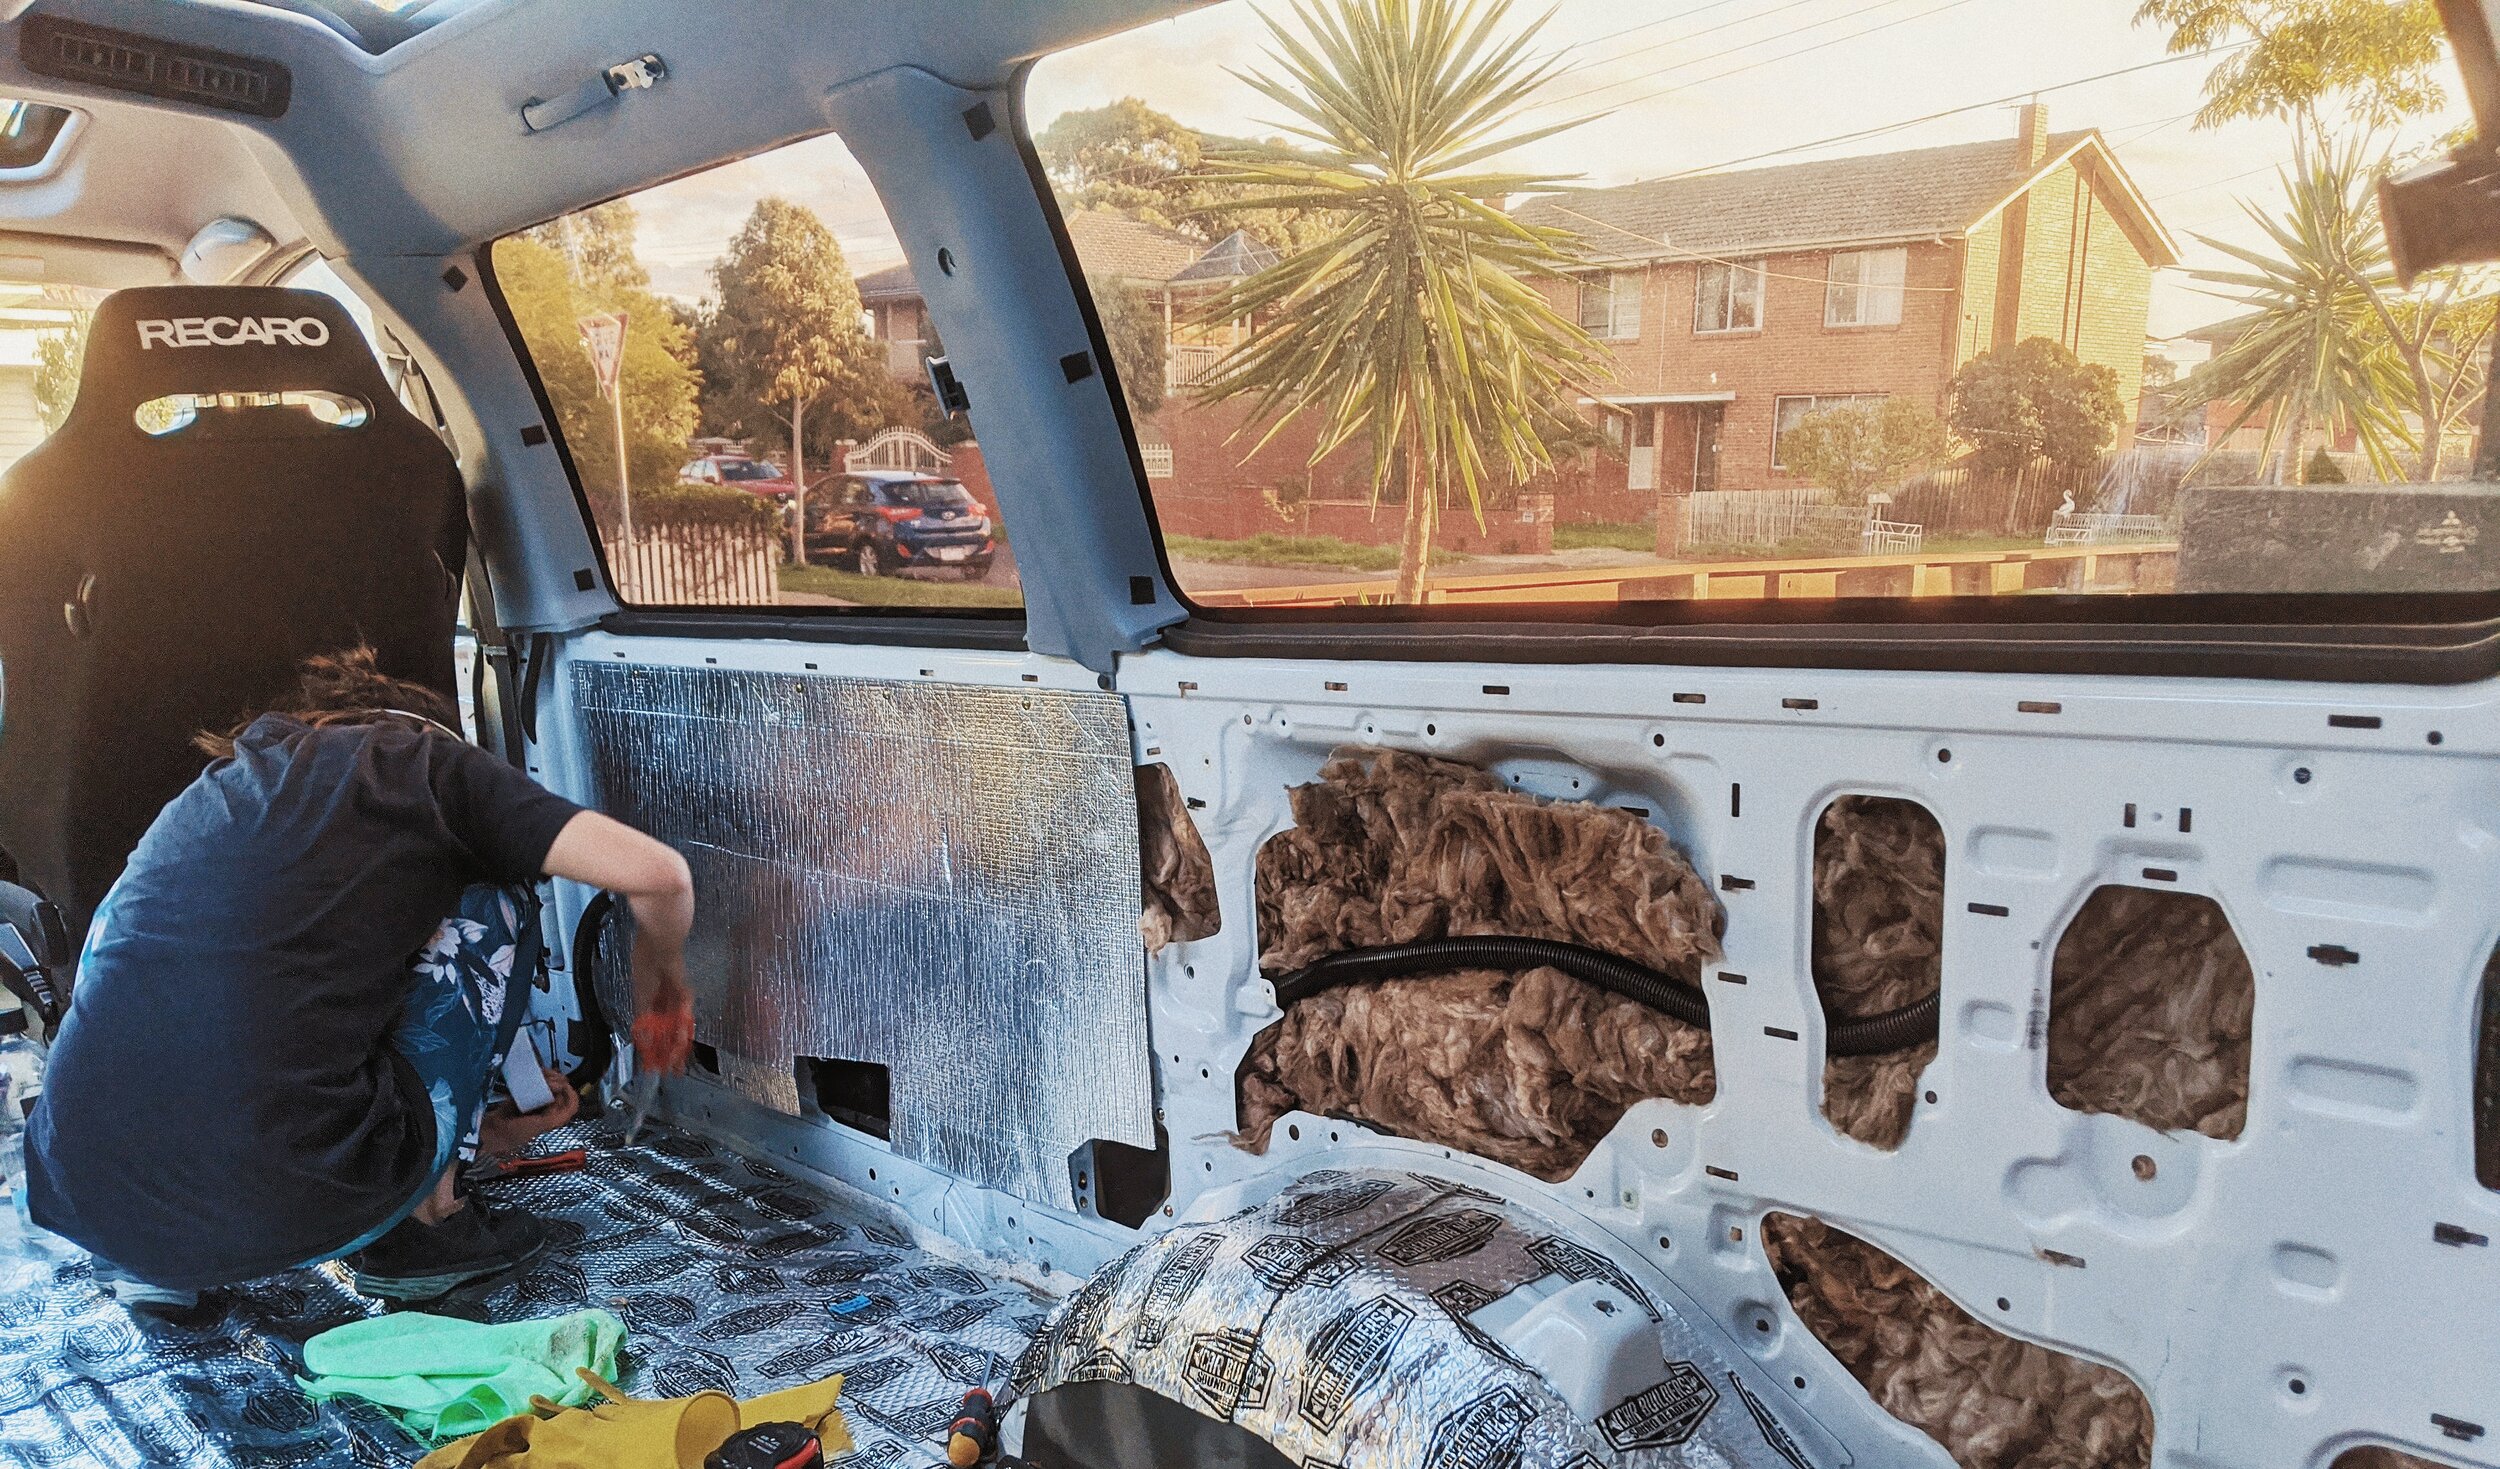
At this point we decided to scrap the idea of keeping the plastic trim in the rear and got ourselves a few bags of earthwool offcuts and a roll of insulation aircell for a mere $50. We didn’t realise how itchy this stuff was and how bad it was to breath in so on day two we layered up and got our selves a mask and some gloves. Finally we filled the floor gaps with Carbuilders Waterproof Underlay offcuts to level the floor, it’s pretty dense stuff and was about the right height and had a sticky side so we didn’t need to use heavy wooden slats and liquid-nails.
Mass loaded vinyl
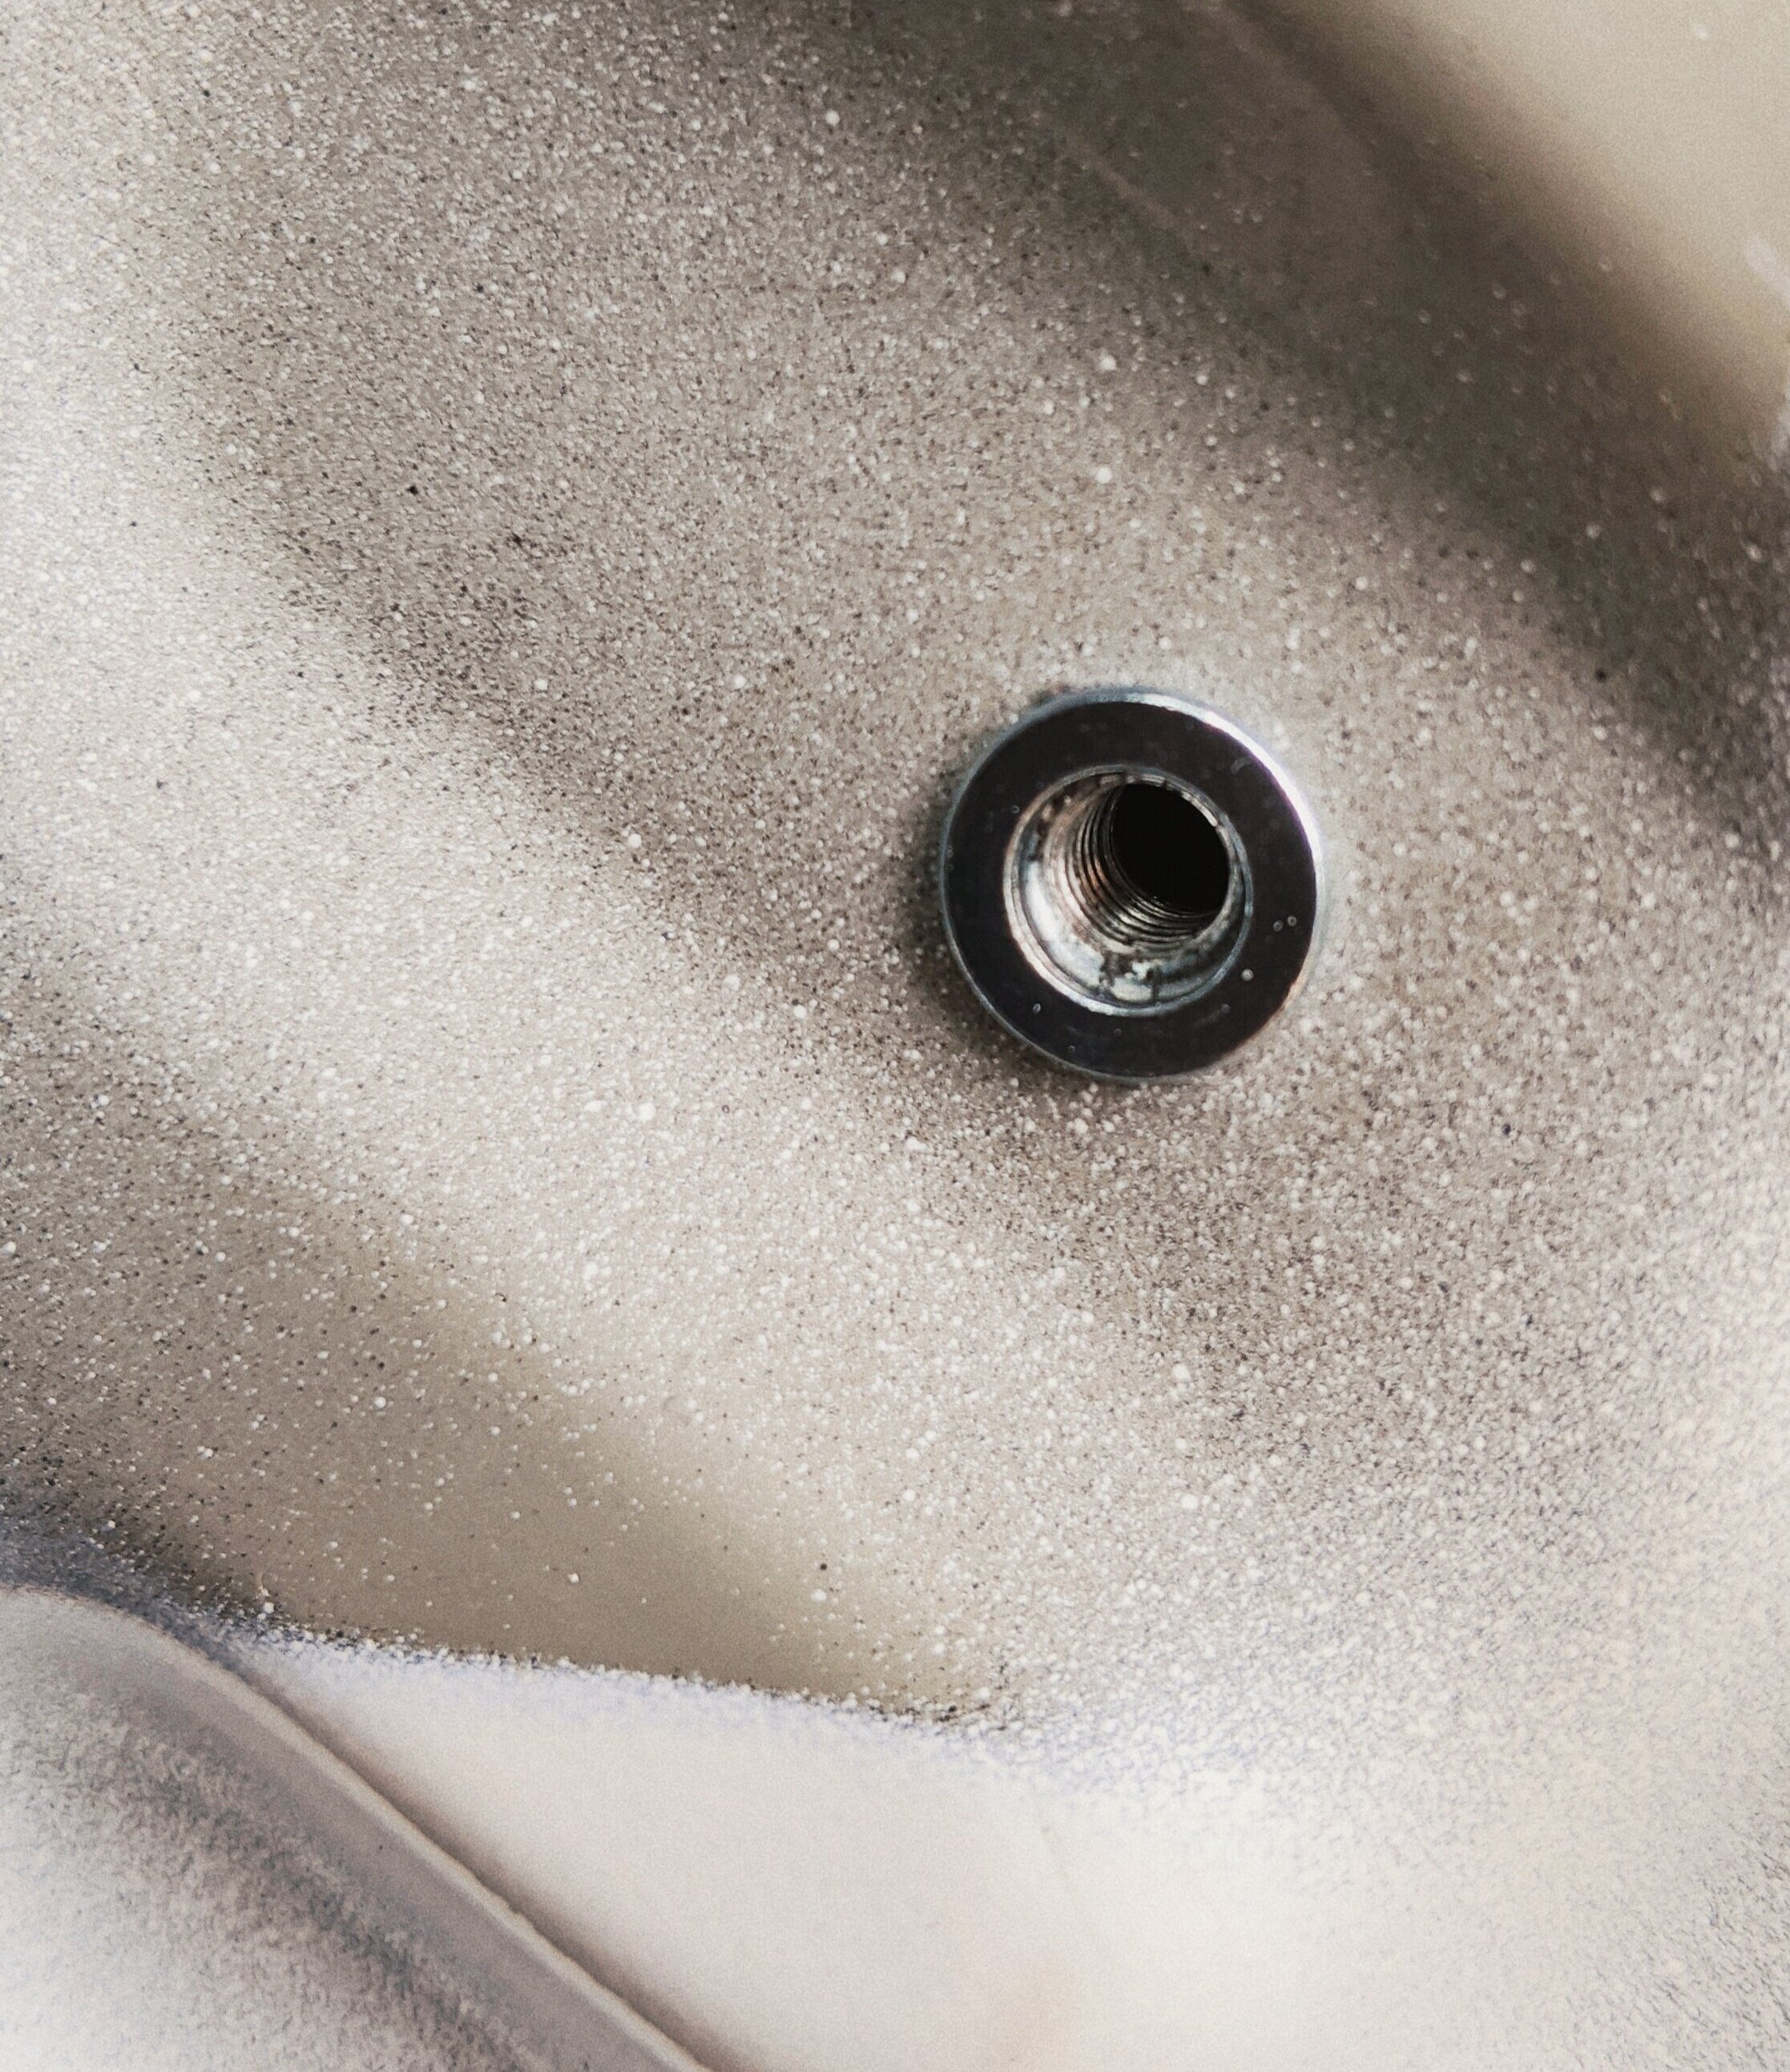
To further reduce the cabin noise and to increase the quality of the speakers, we’ve gone ahead and purchased 2mm mass loaded vinyl, which we super glued to 3mm closed cell foam. The MLV acts as a sound absorber while the CCF absorbs the high frequencies, acts as a bit of an insulator and a decoupling layer stopping the MLV from rattling inside the door trim. We got a few hole punches from a local hardware store and shaped the parts to fit. The door panels had a few new holes drilled to allow for new nut inserts to help hold the heavy MLV/CCF combo. It took us a week to get both doors trims to fit properly. It was a pain! On top of that we ran new wiring inside the door speaker with a 12 gauge speaker wire through the door rubber boot. This was a frustratingly labour intensive one. The speaker was finished off and baffled front and back with a Speaker Acoustic Kit Seal from InstalPro.
Chillin!
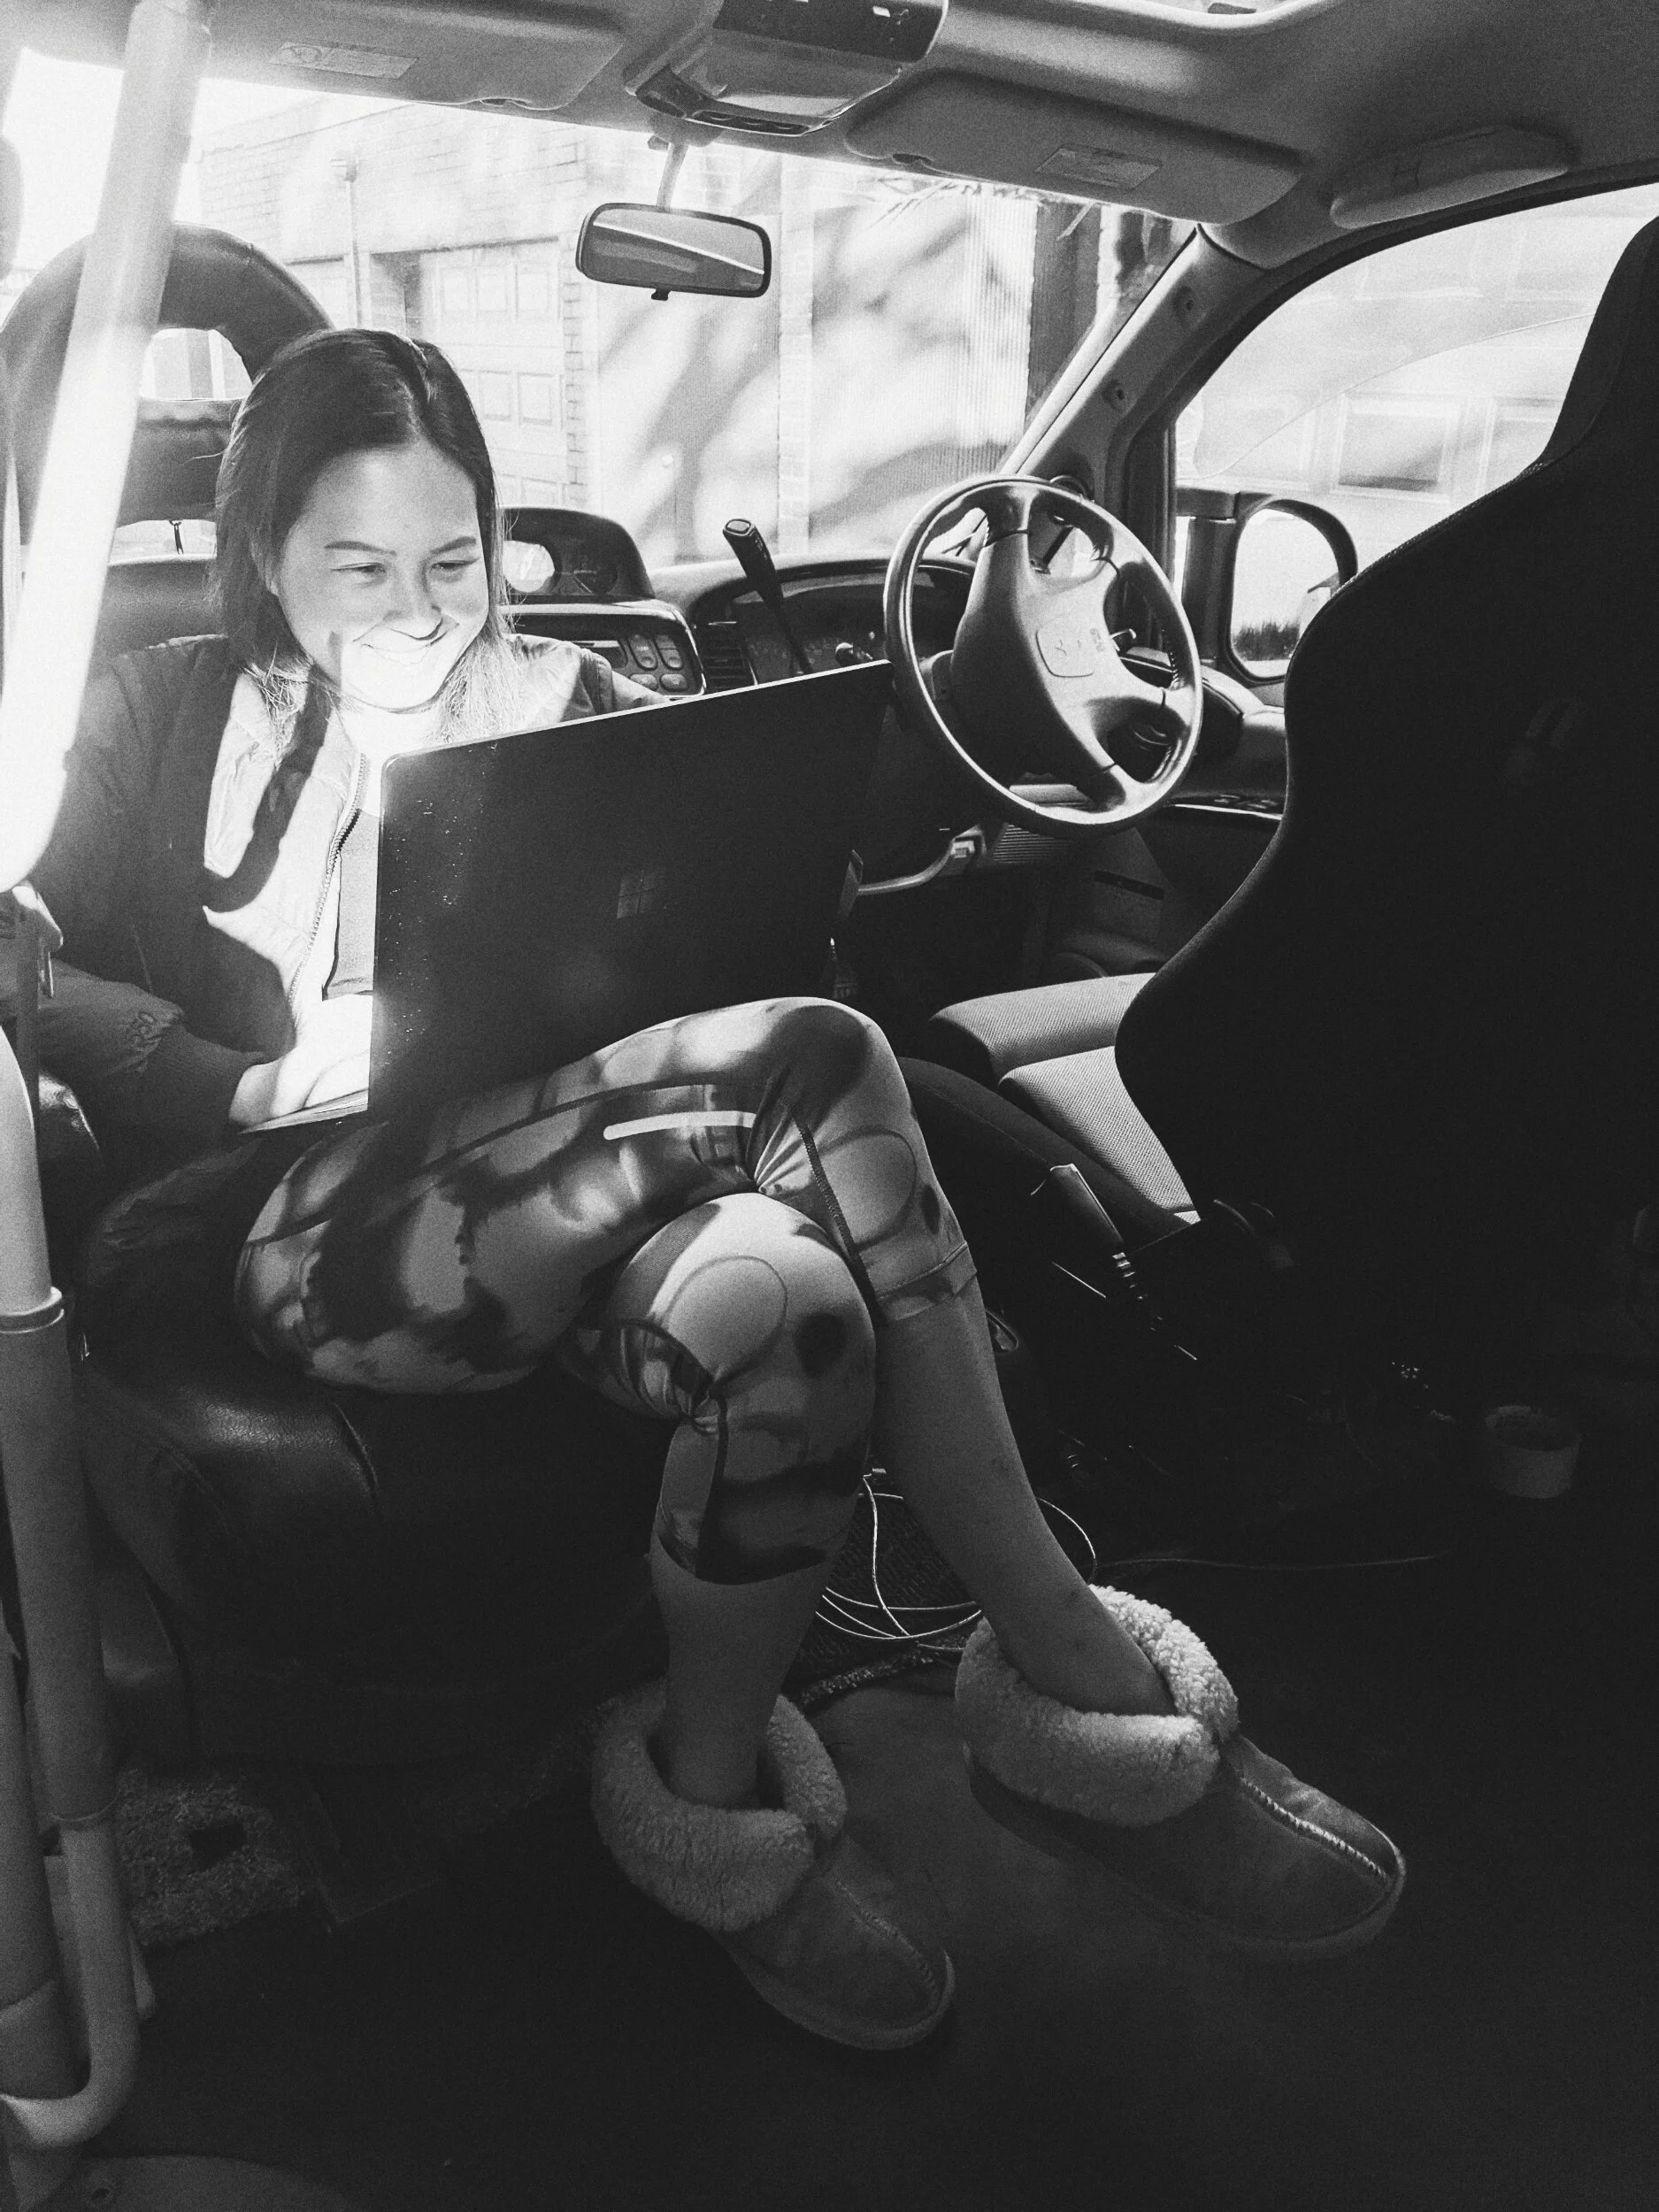
Suzy’s day off :)
Speaker Mounts
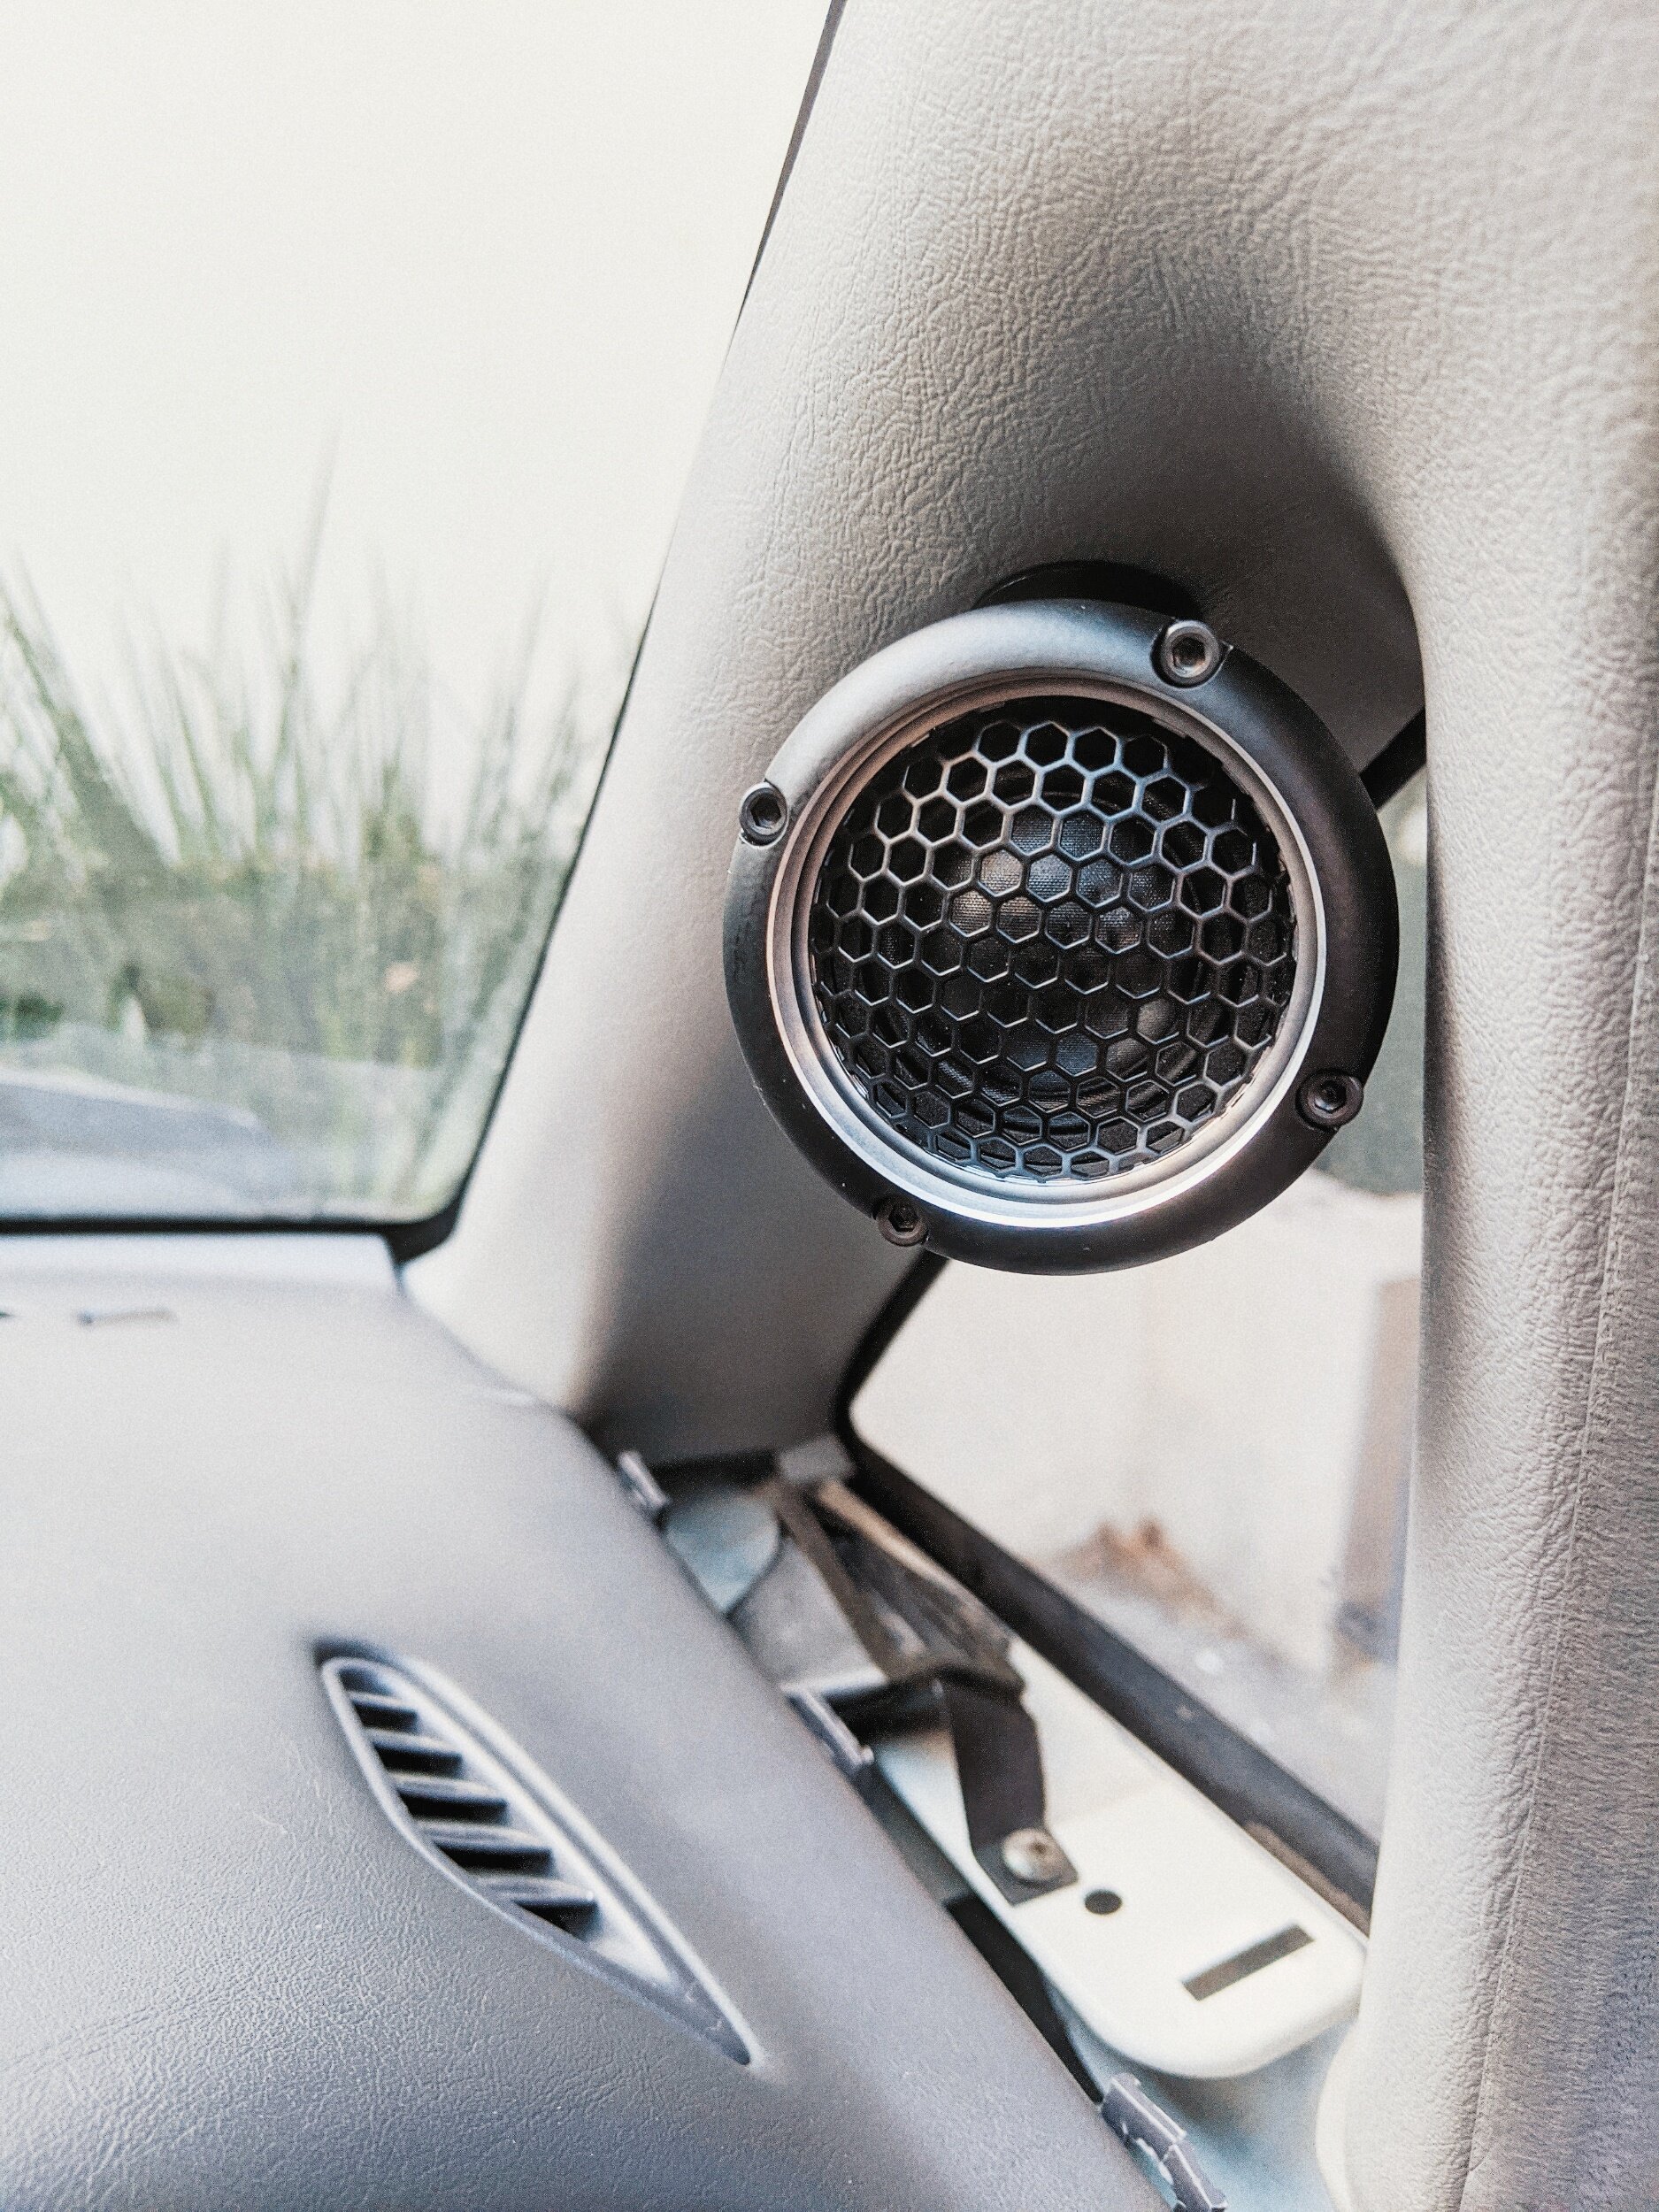
Time for a speaker upgrade. The car came with no speakers as the previous owner had kept them. After listening to Focals and the like, we decided to go with a set of German “Rainbow” component for their smoother warmer sound. To fit them the plastic housing we needed a few simple mods. The jigsaw did not work at all, stick to a Dremel :)
Sound Deadener
To make the car less noisy and tinny we went crazy and relined the floor with fresh sound deadener. The old factory stuff was almost 20 years old and had gone quite hard so we went over it. We also did all the panels and doors which made a big difference, and should help with the speakers once the new ones go in the doors.
3D Scanned
With the panels off and the fabric removed we rented a scanner and scanned the interior. Rather than cutting wood on the fly and doing it the traditional way, we’ll have the interior designed in CAD and then CNC’d to a perfect fit (hopefully!).
Strip & Wash
First thing we did when we got the van back is carpet clean all the fabrics & the carpet. We rented a carpet cleaning machine from Bunnings and did every soft surface. Amazing how much old grime we got out, particularly the oil stained door fabric which came out looking like new. We found spraying a bit of Sard spray and letting it soak for a few minutes greatly improved the carpet cleaning results. And yes, the Recaro’s came with the van :p
Sold the big stuff
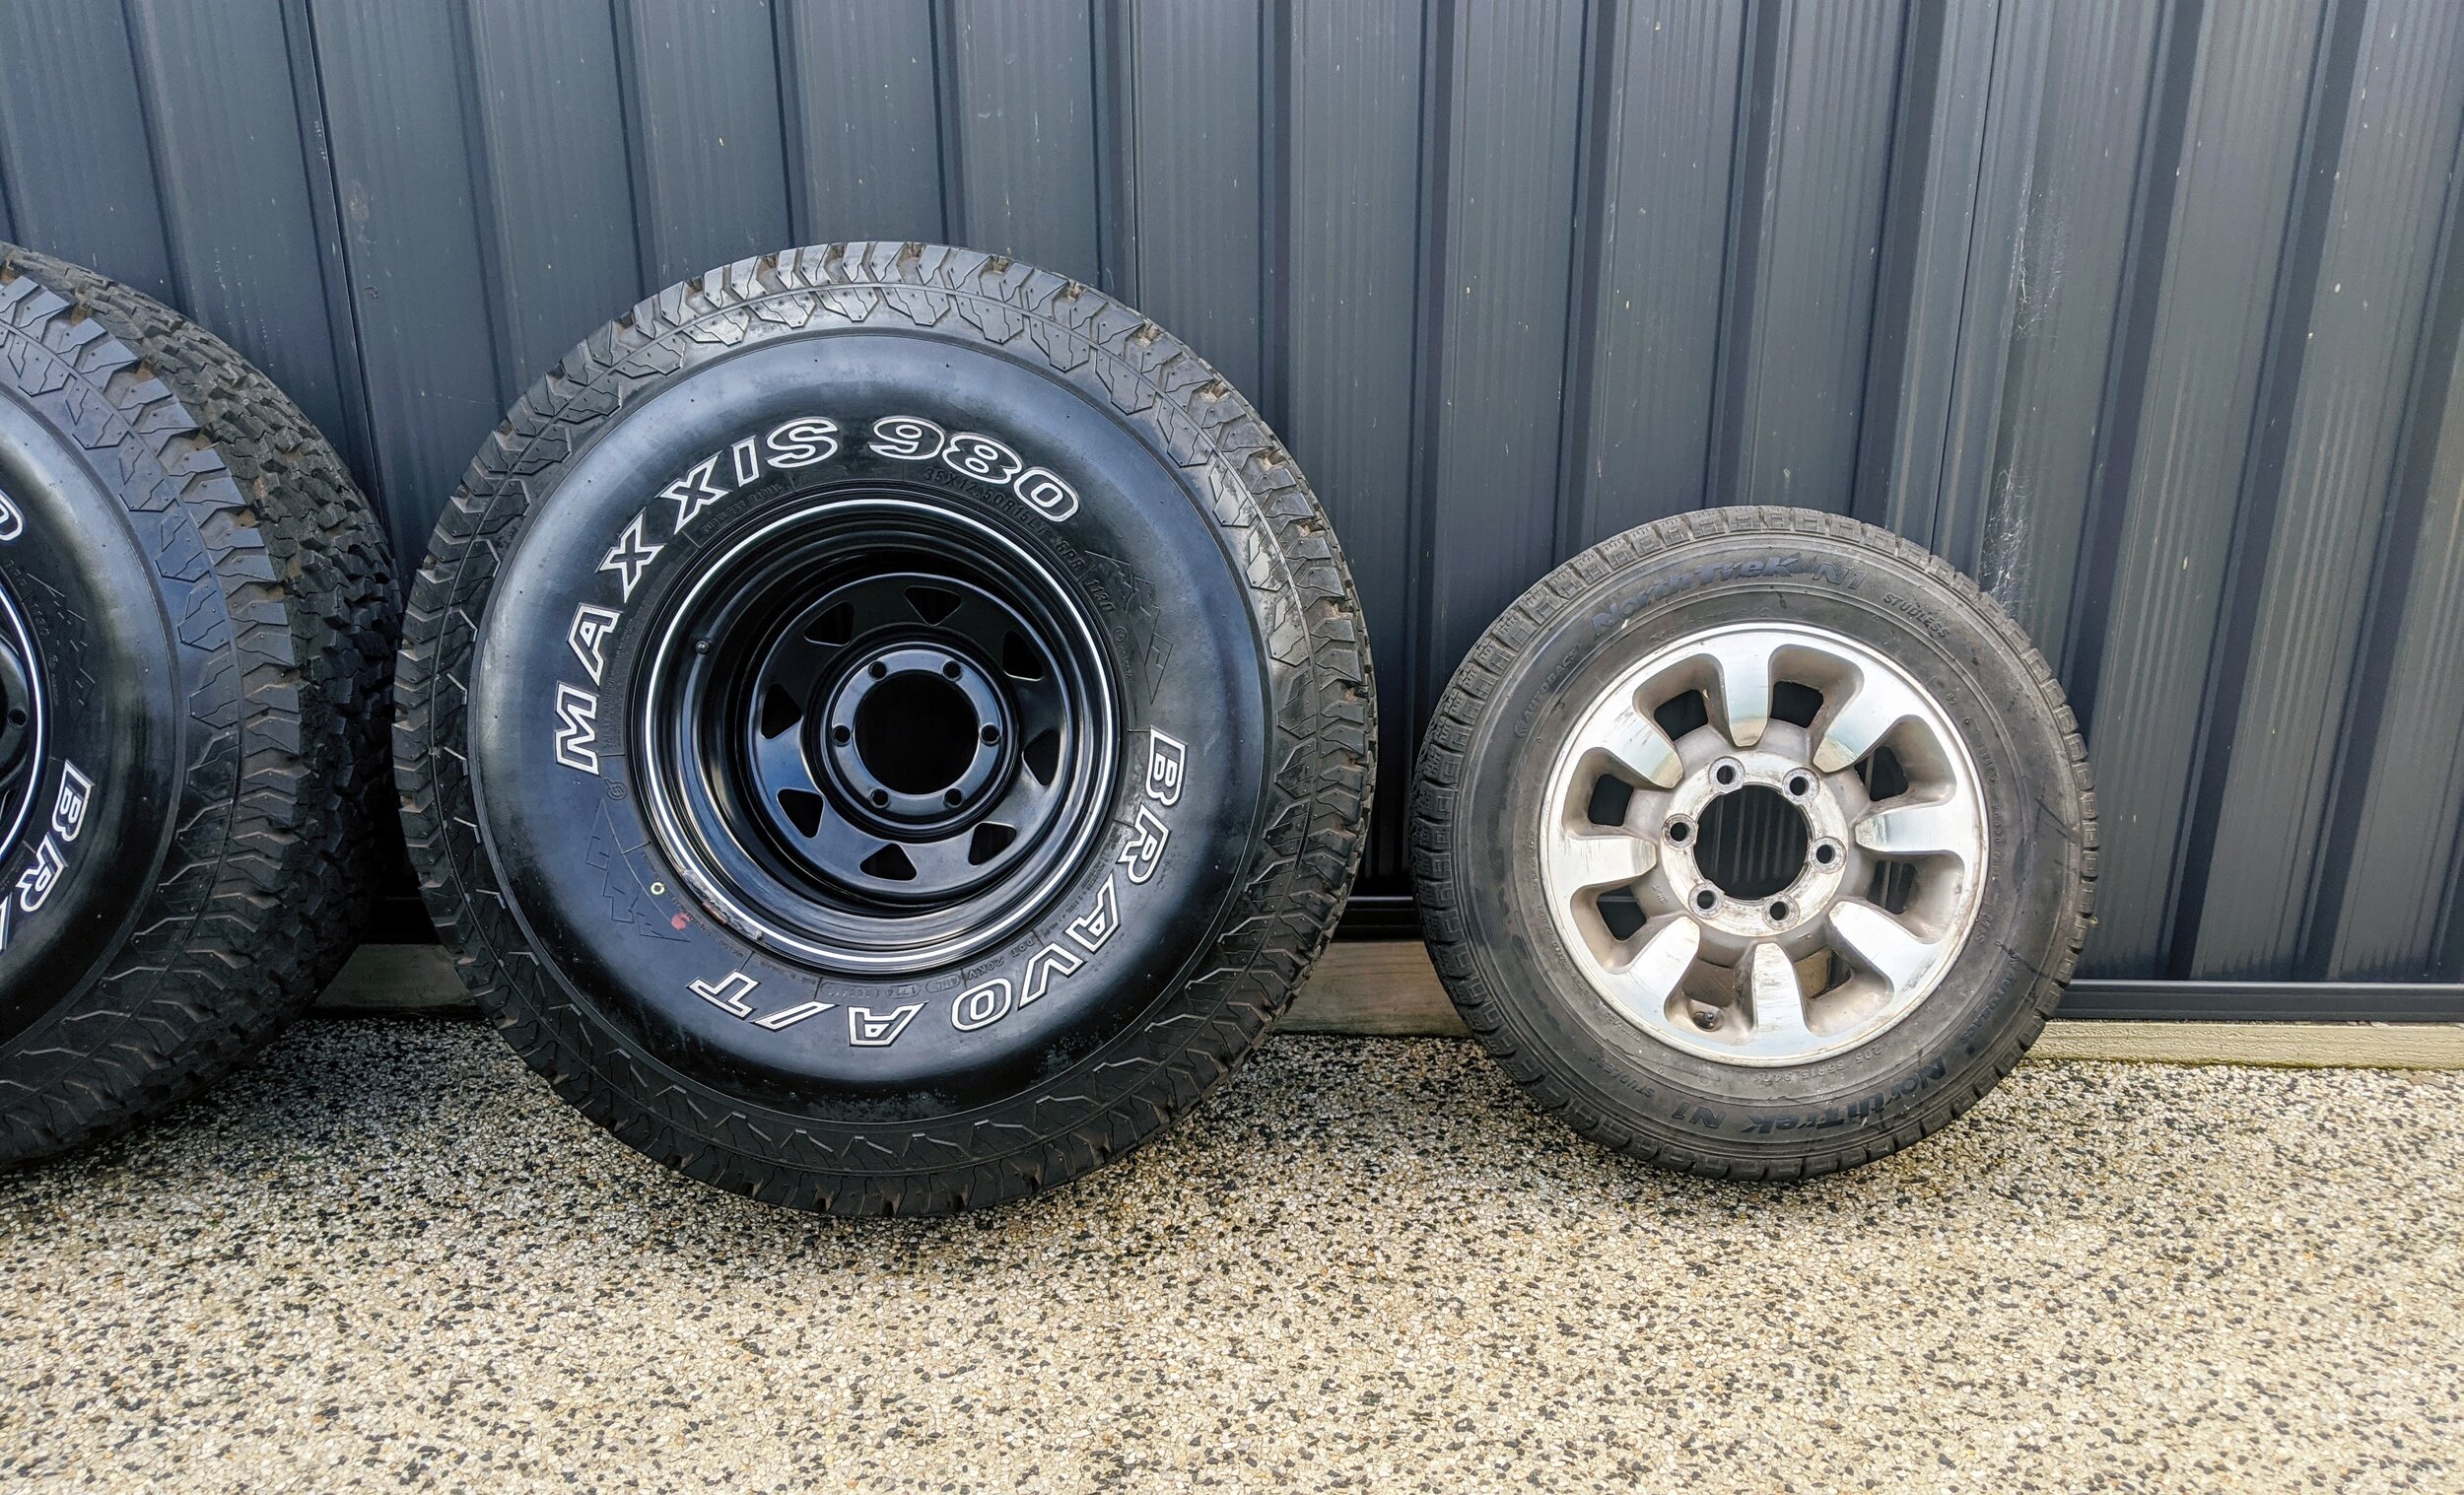
In order to make the van legal, the crazy lift had to go. The 35” and the stock wheels illustrated for size :) Last pic shows a sneak peak of the new tire offset.
Wheels
Since we’re lowering the Deli, the current rim offset won’t fit. Rather than going the typical Sunraysia’s we managed to hunt down a set of SSR Auswuch’s. These rims are around 30 years old but do pop up on japanese auction sites from time to time. We were lucky to score these locally. The chrome needed some attention so the rims and nuts were polished.
We bought a Monster Truck!
Yes we’re crazy….
We had spent a year scouring the internet for the perfect vehicle that would become our home and adventure machine.
In 2019 it’s hard to find a low KM, long wheel base, late model, glass roof Mitsubishi Delica that isn’t a rust bucket or isn’t nearing 200~300,000km mark. This being a crazy Japanese show pony, the van is actually in pretty good shape inside and out. It’s a 2003 LWB petrol with 97,000Km on the clock. With the timing belt being original it appears to have genuine KM’s unlike many imports. Being on a 12” lift, it is neither pleasant to drive nor technically legal here in Australia so we’ll have some work to do. This blog will document the journey this Delica takes from the zombie crushing monster it is, to a tame but tough looking camper van.
In the meantime, below are some photos of the many re-incarnations the van has witnessed prior to us adopting it. It has certainly seen some wacky days.
Our Deli's History
We don’t know too much about the Delica other than the photos that we found of it online. Based on the sticker on the windshield it looks to have been modified by a custom car shop in Japan. We also know the Deli used to be white as it is evidence by the engine bay colour. Here are some of the wacky iterations this Deli had seen.


